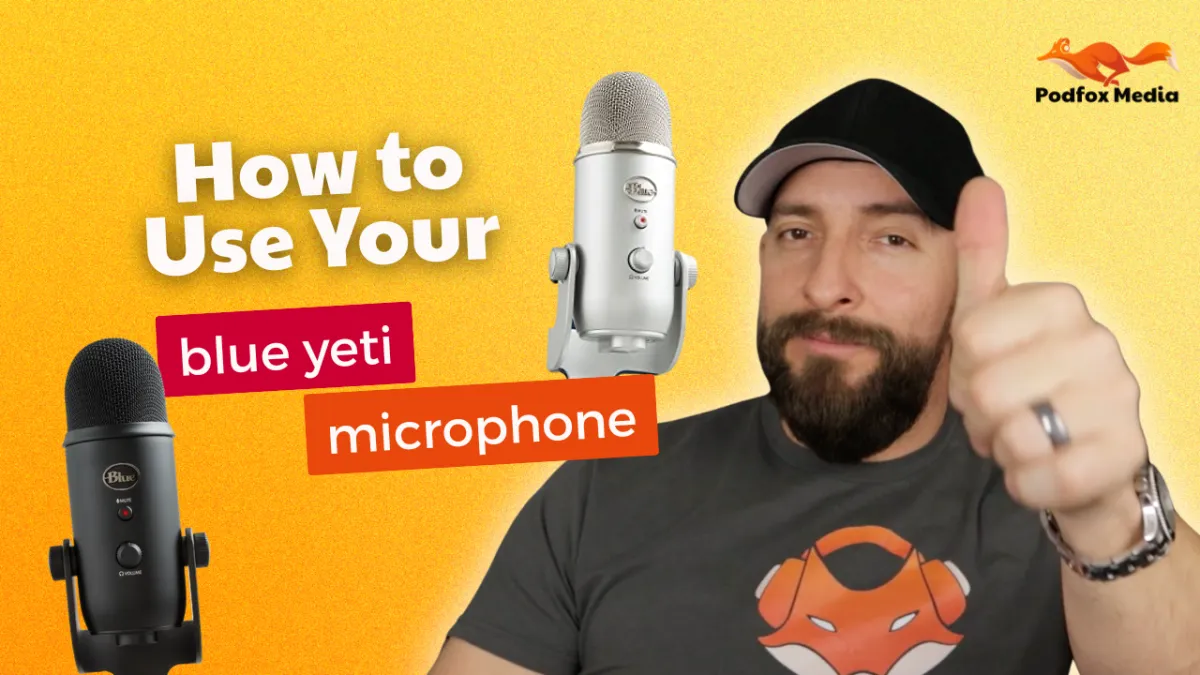
Blue Yeti Microphone Setup: 5 Critical Settings for Professional Podcast Sound
Blue Yeti Microphone Setup: 5 Critical Settings for Professional Podcast Sound
When it comes to starting a podcast with professional sound quality, the Blue Yeti microphone has become a popular choice for many content creators. But owning this USB microphone isn't enough—understanding how to set it up correctly makes the difference between amateur and professional-sounding content.
Let's dive into the essential settings and setup techniques that will help improve your audio quality.
The Positioning Mistake Almost Everyone Makes
One of the most common mistakes with the Blue Yeti isn't related to technical settings at all—it's improper positioning. Many content creators position the microphone with the Blue logo facing away from them (toward the camera) because it looks better on video.
This is incorrect.
The Blue Yeti is a side-address microphone, which means you should speak into the front side of the microphone where the Blue logo and volume control are located, not the top. Speaking into the top of the microphone will result in thin, distant-sounding audio that lacks the richness and presence your content deserves.
Proper positioning alone can significantly improve your sound quality without changing a single setting.
Understanding the Four Polar Patterns
The Blue Yeti offers four different polar patterns, each designed for specific recording scenarios. Selecting the right pattern for your needs is crucial:
Cardioid Mode (heart-shaped icon): This is the pattern most podcasters should use. It records sound directly in front of the microphone while rejecting sound from the sides and rear. Perfect for solo recordings or when you want to minimize room noise.
Stereo Mode: Captures sound from the left and right channels, creating a wider audio experience. Useful for recording music or ambient environmental sounds.
Omnidirectional Mode (circle icon): Picks up sound equally from all directions. This can be useful in group settings when you don't have multiple microphones, but be aware it will capture more room noise.
Bidirectional Mode (figure-8 icon): Records from both the front and back of the microphone while rejecting sound from the sides. Useful for two-person interviews when you don't have separate microphones.
For most podcasting setups, the Cardioid pattern is your best option, as it focuses on your voice while minimizing background noise.
The Gain Control Sweet Spot
One of the most misunderstood controls on the Blue Yeti is the gain knob. This doesn't control how loud the microphone is in your headphones—it controls how sensitive the microphone is to incoming sound.
Setting the gain too high results in picking up unwanted background noise. Setting it too low forces you to speak too closely to the microphone, creating inconsistent audio levels.
Our recommendation: Start with the gain at its lowest setting, then slowly increase it while speaking at your normal volume. For most users, this ends up being about 1/4 to 1/3 of the way up from zero—rarely ever past the halfway point.
Direct Monitoring: A Secret Weapon
The headphone jack on the Blue Yeti isn't just a convenience feature—it's a powerful tool for improving your recordings. By plugging headphones directly into the microphone, you can hear yourself without latency (delay), allowing you to:
Catch plosives and other mouth sounds in real-time
Monitor your volume consistency
Identify background noises you might not otherwise notice
Adjust your microphone technique on the fly
The volume knob on the front of the Yeti controls only the headphone volume, not the recording level. Adjust this to a comfortable listening level that allows you to clearly hear your own voice.
Computer Setup for Optimal Performance
After physically connecting your Blue Yeti via USB, you'll need to select it as both your input and output device in your computer's sound settings:
For Windows: Right-click the speaker icon in the taskbar > Open Sound Settings > Choose "Yeti Microphone" as your input device
For Mac: System Preferences > Sound > Input > Select "Yeti Microphone"
If you want to monitor through the Yeti's headphone jack, also set the Yeti as your output device.
Beyond the Microphone: Room Treatment Considerations
Even with perfect Blue Yeti settings, your recording environment plays a crucial role in your final sound quality. The microphone will capture room reflections, computer fan noise, and other ambient sounds.
Some solutions that can make a difference:
Record in a room with soft furnishings like curtains, rugs, and furniture
Position yourself away from walls to reduce sound reflections
Place the microphone on a shock mount to isolate it from desk vibrations
Consider a pop filter to reduce plosives ("p" and "b" sounds)
Is the Blue Yeti Right for Your Podcast?
The Blue Yeti is an excellent entry point for podcasters who want quality sound without complex equipment. Its plug-and-play USB connection and built-in features make it accessible for beginners while still delivering good audio when used correctly.
However, as your podcast grows, you might eventually want to explore other microphone setups that offer even more control and quality. The principles you learn with the Blue Yeti will transfer directly to more advanced setups.
Ready to Launch Your Podcast?
Setting up your microphone correctly is just one piece of the podcasting puzzle. If you're considering starting a podcast but feeling overwhelmed by the technical aspects, content planning, or growth strategy, we're here to help.
Podfox Media offers a free 90-minute consultation with our podcast strategists to help you map out a clear plan for your podcast launch. We'll cover everything from equipment setup to content strategy and audience growth.

